|


| |
How to make honeycomb panels
Honeycomb panels has a very good ratio between stiffness and
weight. As with must other structural elements there are different possible uses
and different requirements according to the use. While there are ready-made
panels available commercially the option of doing it yourself (DIY) are always
present. The main advantage by DIY is the unsurpassed flexibility with
regard to weight and strength possible by selection of different skin-materials.
Below are pictures with text that describes the process of DIY
panels.
Examples of weight when using different laminating materials on
3mm honeycomb material are shown in table below, together with weights of other
building materials:
| Material |
Weight [g/dm2] |
| Honeycomb with 50g/m2 glass on both sides |
3 |
| Honeycomb with 200g/m2 carbon on both
sides |
8.5 |
| Honeycomb with 200g/m2 carbon and 100g/m2
glass |
7 |
| Light-weight 3mm balsa |
3 |
| 3mm aero-plywood |
21 |
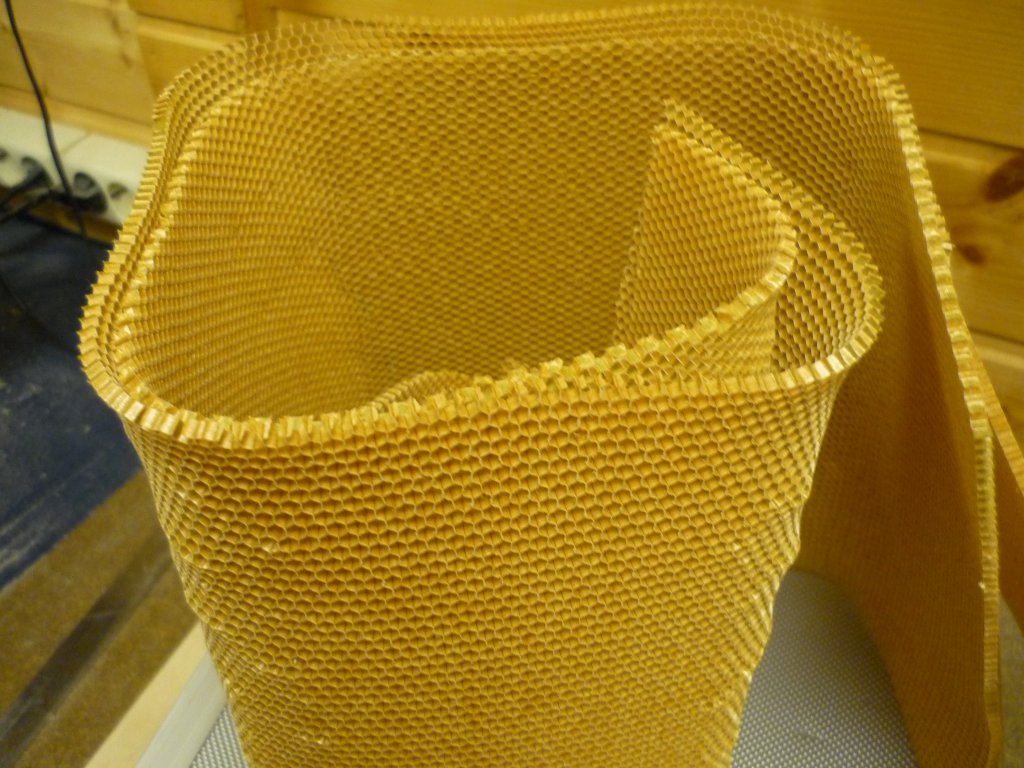 |
The
honeycomb core-material are available in different thickness, and are
surprisingly flexible.
|
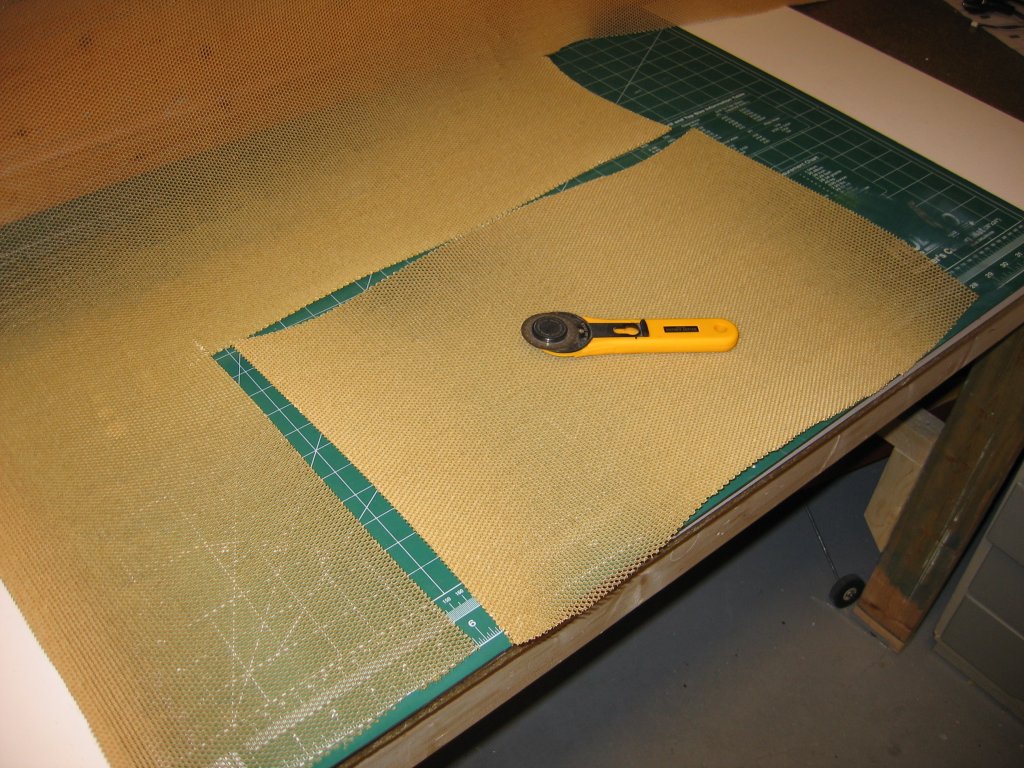 |
The
core material cut to shape, a cutting wheel is the best suitable tool. |
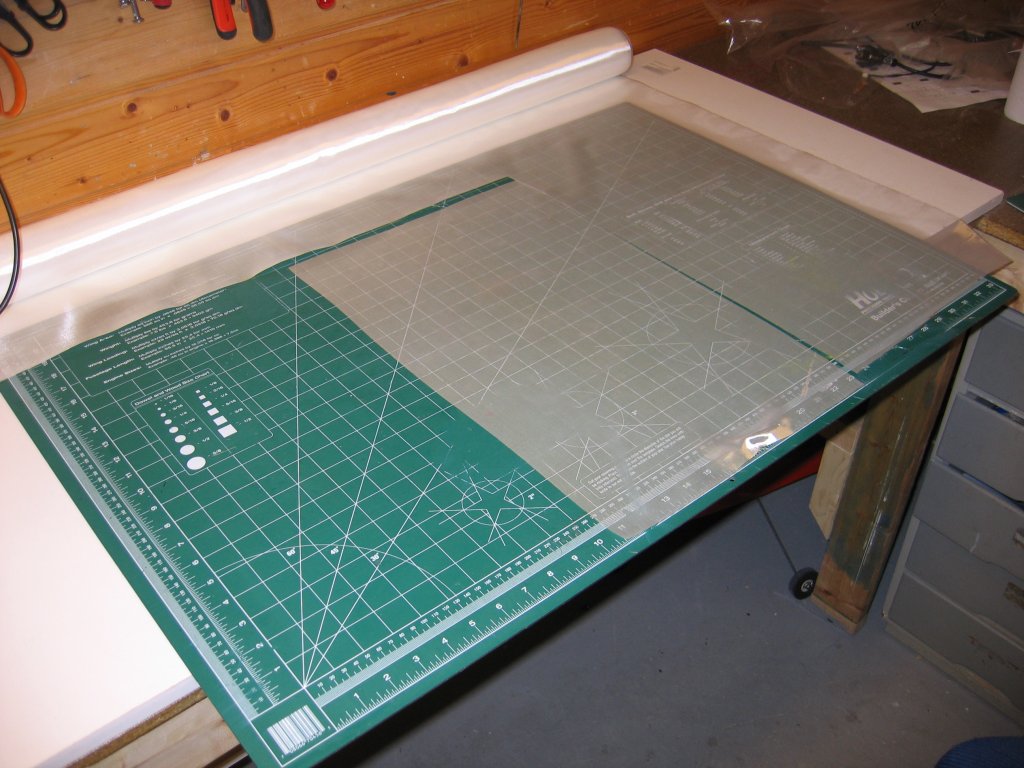 |
In
this case the fiberglass is cut to shape. According to required weight
and/or stiffness the fiber can be any weight of fiber-glass or carbon-fiber.
|
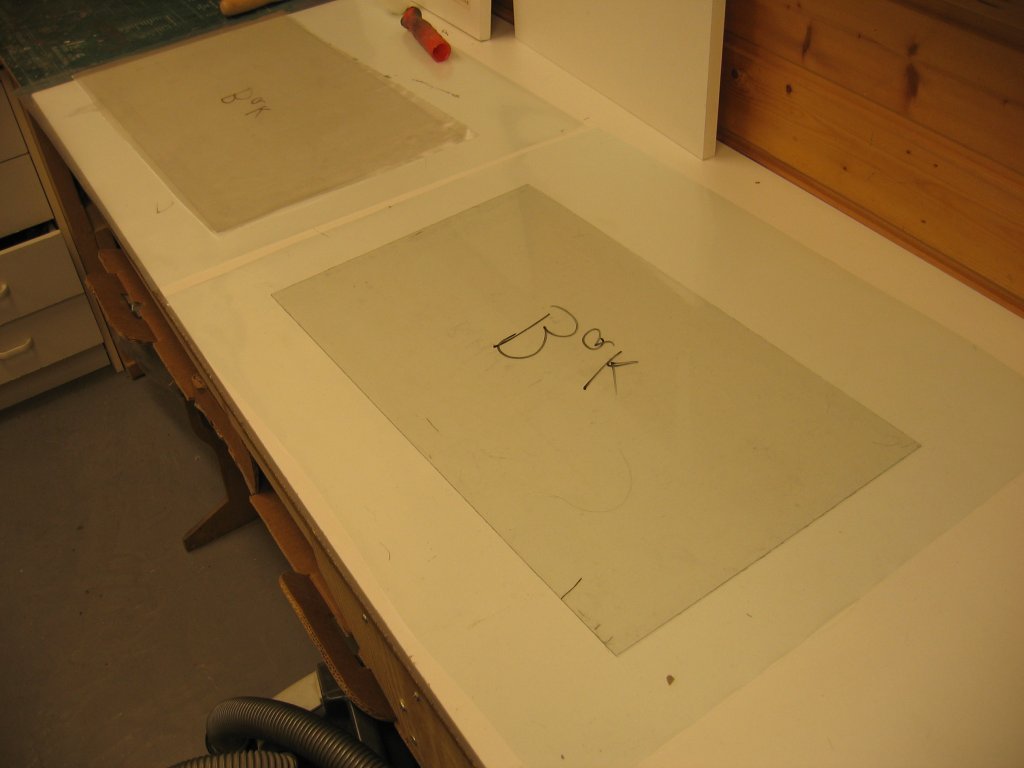 |
Plastic
sheets (>= 0.5mm thick) are used to define surface. Apply wax, polish
it and apply the fibers and epoxy to two sheets.
|
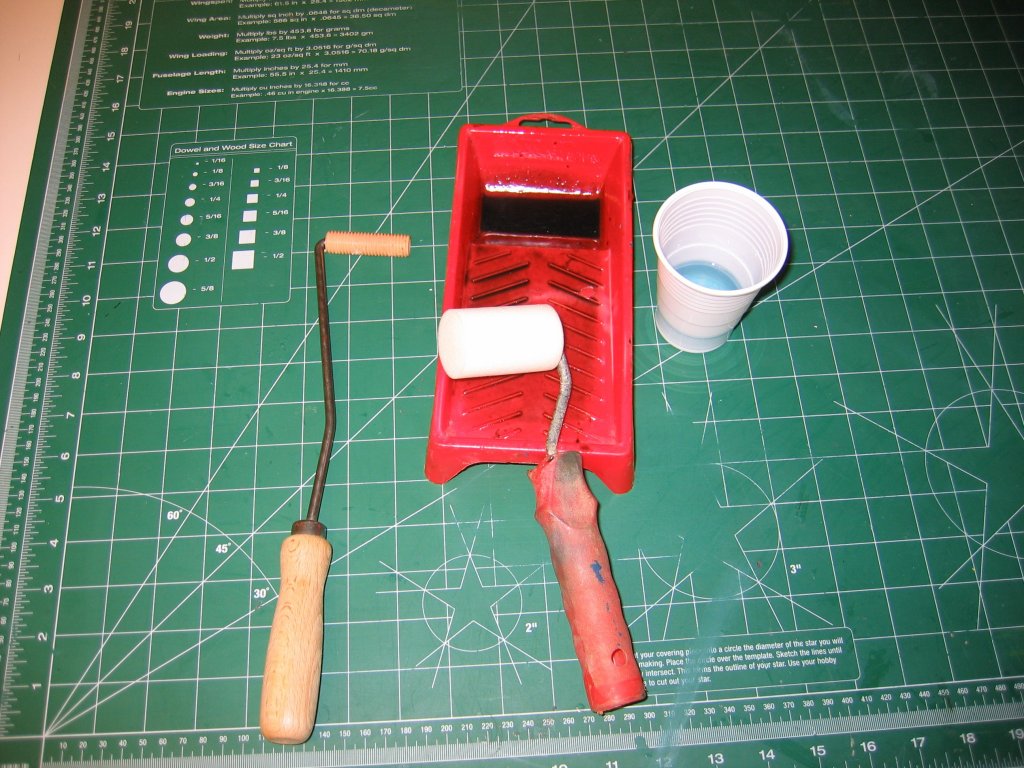 |
Tools
used to apply epoxy and fibers to the plastic plates. A foam roller is
used to apply epoxy, and the rilled roller is used to help remove air bubbles
from the matrix (most important when using carbon-fiber cloth)
|
 |
The
stack of 2 outer layers of fiberglass on plastic plates and the central
honeycomb material is put together.
|
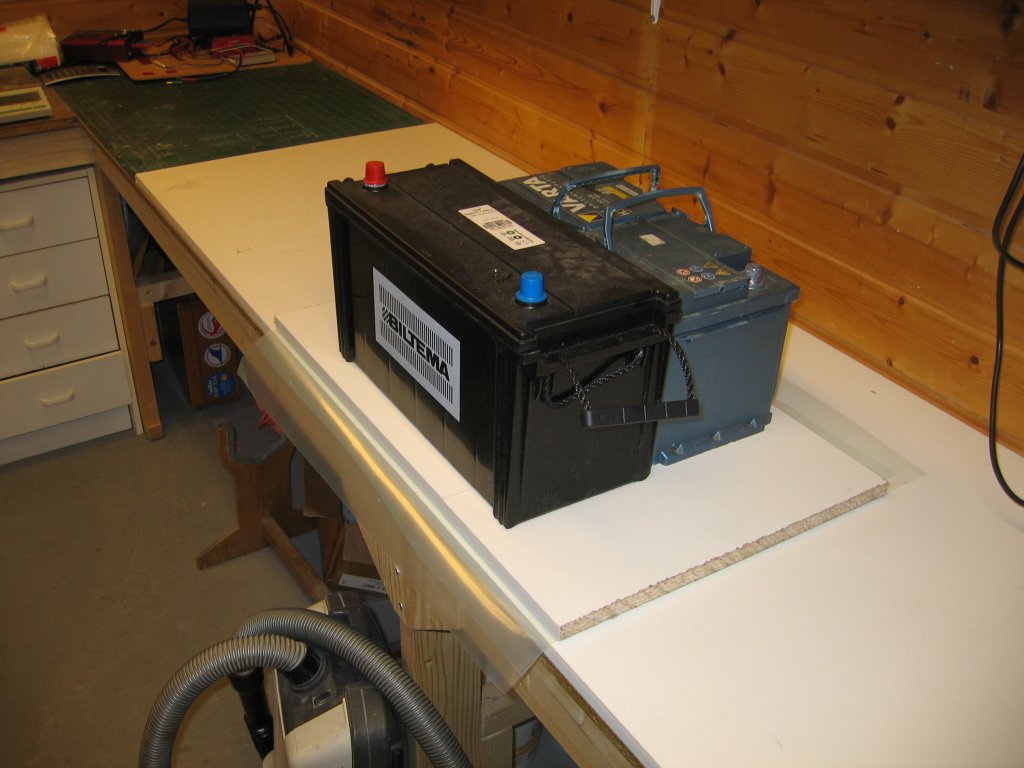 |
Some
weight are used to keep the stack together while the epoxy hardens.
|
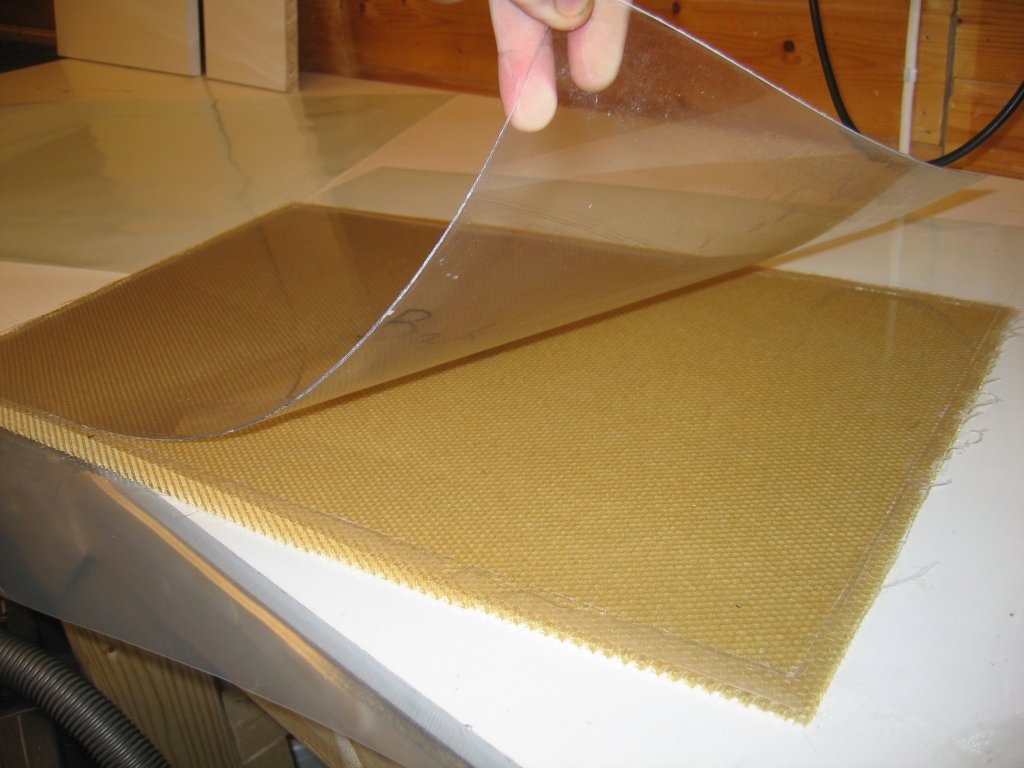 |
After
sufficient time for hardening of the epoxy the plastic plates are easily
removed.
|
 |
Shown
here is a very rigid panel made with carbon fibers
|
|