![]() Ola
Fremming's homepage
Ola
Fremming's homepage
|
|
|
|
Wing-sheeting using vacuum bag. I do all (well...90%) my sheeting of foam-cores with a vacuum-bag to press the sheeting onto the foam. Below I will try to explain how I do it, together with how the pump and vacuum-bags are made. For ease, in the text below I use the word vacuum, the precise description is pressure below atmosphere. Advantages are :
Disadvantages are :
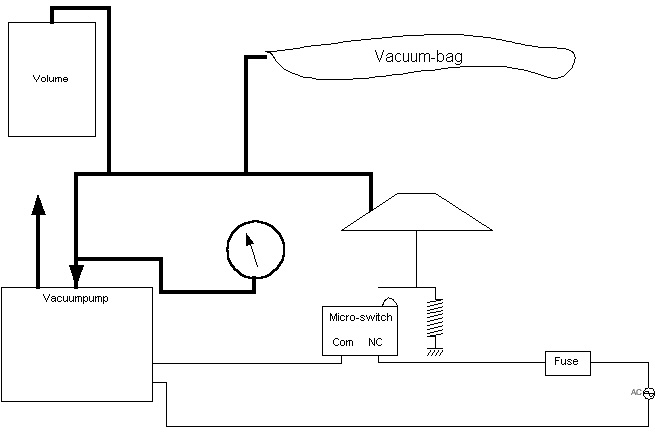
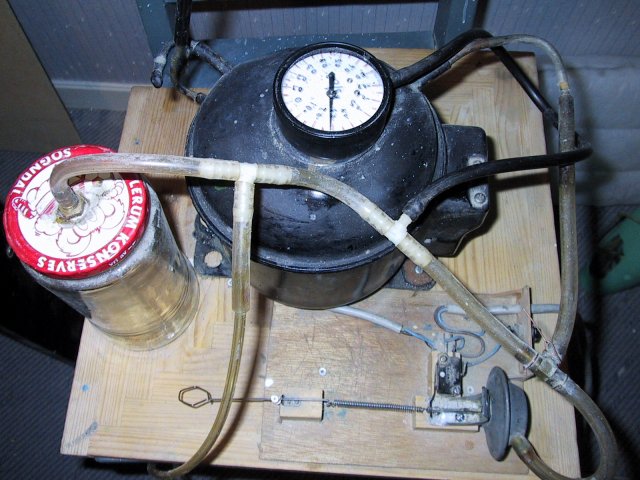
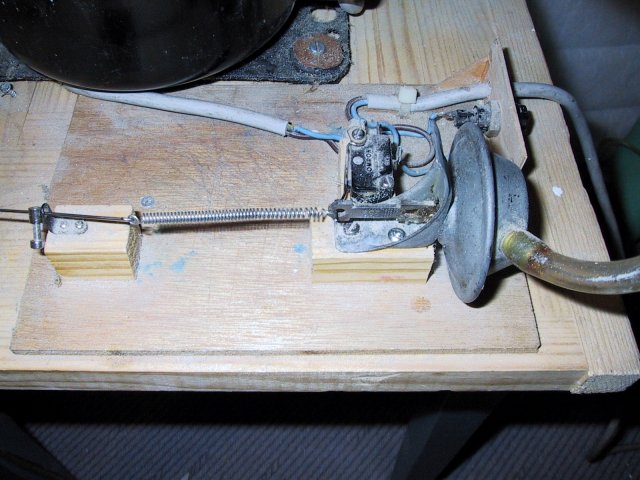
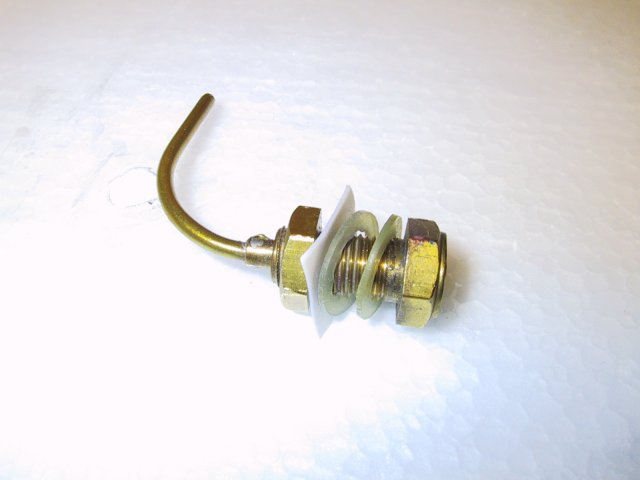
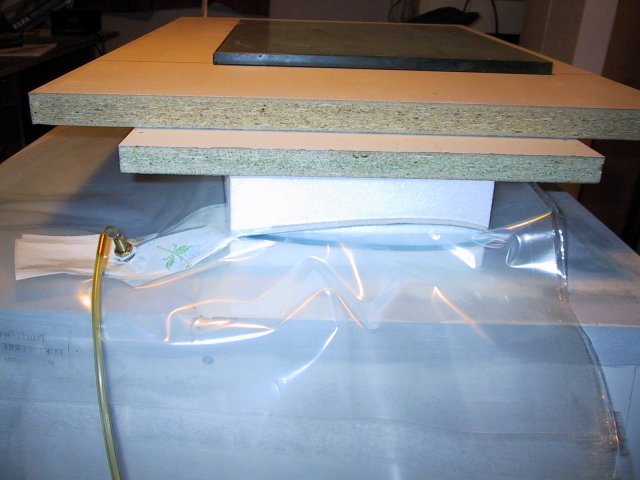
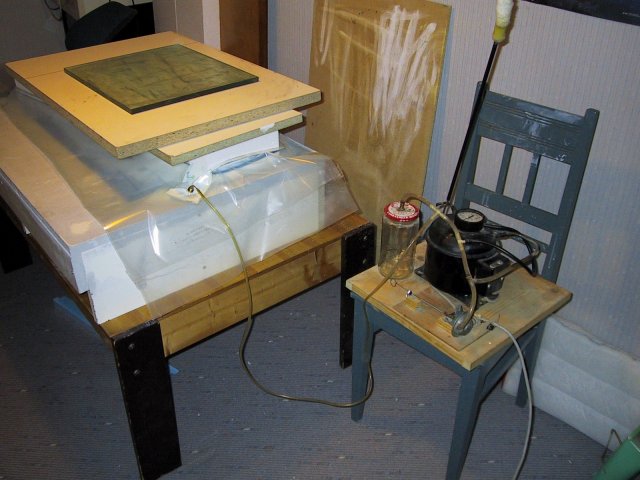
The vacuum pump There are no need for a fancy and/or expensive vacuum pump. I have used the pump from an old refrigerator for 15 years. In addition to the pump itself, one needs some kind of vacuum activated switch to keep the vacuum within a certain range. The pump can easily crush the foam without it. I have made the switch from the vacuum-bell from the distributor of an old 'analog' car, together with a micro-switch. A volume is useful, to give some hysteresis in the system that helps to avoid overheating of the pump. With a volume it runs a bit longer each time it starts, but it also rests longer in between. My volume is an old jam-jar, simple and effective. To be able to monitor the vacuum applied, a pressure-gauge is recommended. To connect the vacuum to the bag, a nipple is needed. I have used a drilled out bras-screw, with a brass-tube soldered in to connect to tubing. On both sides of the bag, a silicone (or rubber) washer is used to keep it airtight. A plastic-washer between the nut and the outer silicone-washer makes it possible to tighten the nut without damaging the silicone-washer. The sketch and pictures below should explain the most of it.
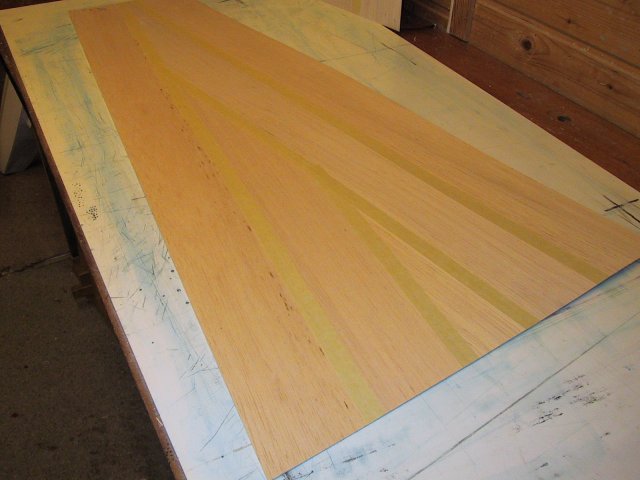
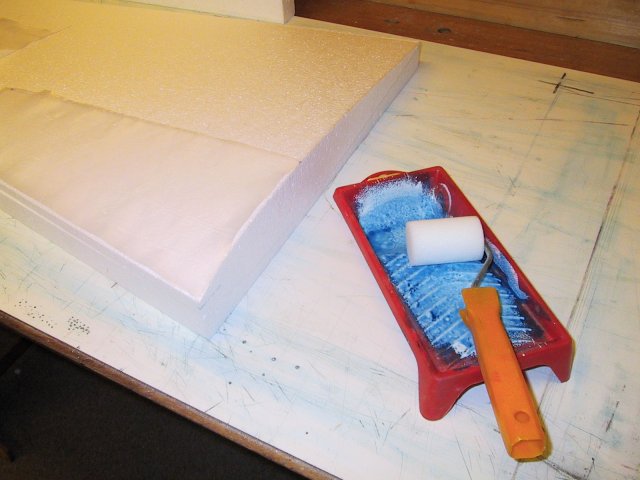
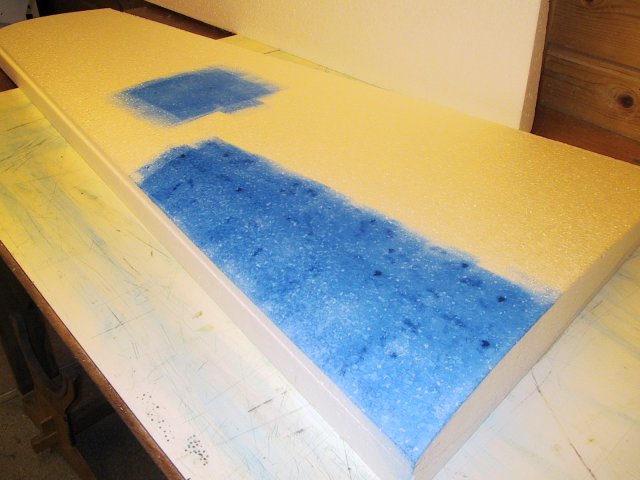
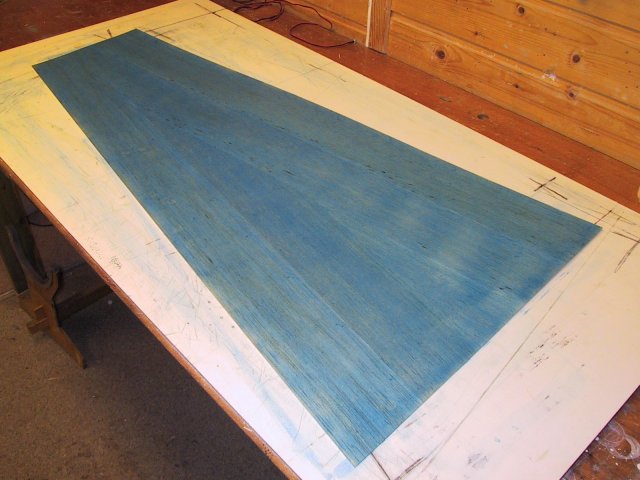
The vacuum-bags : The bags are easy to make from plastic bought at house building material stores. A roll of 0.15mm is quite cheap, and the plastic is double on the roll. Cut of a suitable piece, make a bag of it by wrapping tape around the edges. Normal packing-tape is suitable. The last edge is obviously taped shut after the wing is put inside. The sheeting process : I describe my way of doing it step by step below, thee is a picture to each step at the bottom of the page.
|